

Microsoft EntraID(originally called Azure AD) is great way to enforce security in Azure. Using various groups, policies, managing MFA and SSO is a must in today’s world of malicious hackers activities. Here are couple of most important reasons to use Microsoft EntraID:
- Authentication – manage password resets, SSO, MFA, password requirements
- Conditional access – apply access control decisions, rules and policies
- Managed identities – manage access to other resources for application itself by using managed identity
- Privileged identity management (PIM) – control access within your organization, set access to resource for certain period of time, etc.


Storage account access types
There are 5 main types to secure access to your storage account:
- Microsoft Entra ID – use role based access
- Shared Key – use key by which you can access everything in storage account
- Shared access signature – works only with shared key and further delegates access(for example make access only for one week and for writing only)
- Anonymous read access – self-explanatory, security recomendation is to disable it
- Storage Local Users – supported only for SFTP
Create role-based access for storage account
There are two prerequisites in order to create role-based access for storage account:
- Existing storage account
- Existing identity(user in this tutorial)
In order to showcase you how to create role-based access I will use my pre-created user in EntraID. However feel free to use any other identity as well, such as app registration, enterprise app or managed identity.
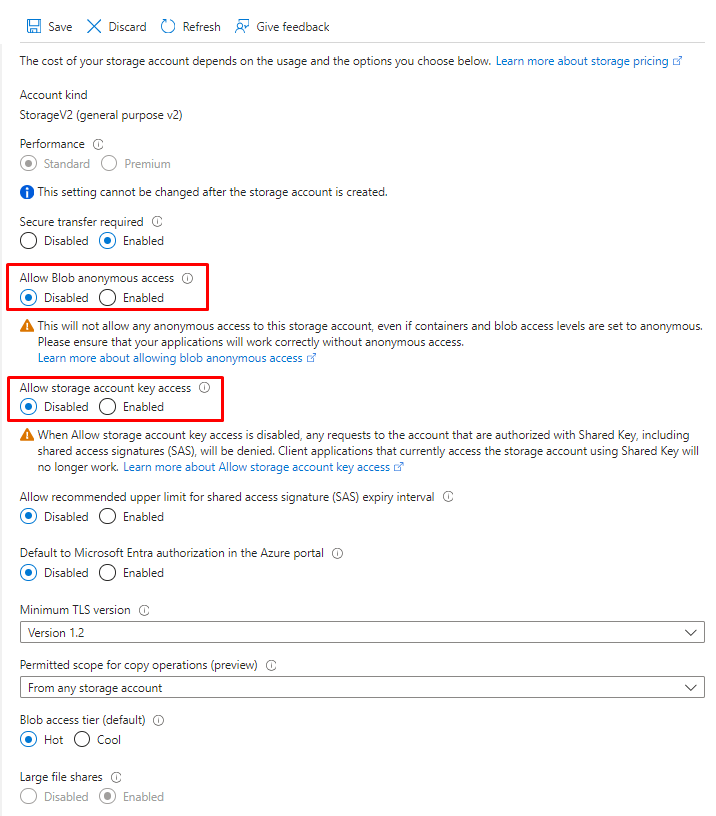
Disable anonymous access and storage account key
Since I am enabling role-based access I might as well disable other less secure options, such as anonymous access and usage of storage account keys.
Head to your storage account. In the left menu go to Settings -> Configuration. There you disable mentioned options. Do not forget to save the changes:
Enable role-based access for user
The next step is to configure the access so that user can read and write to/from storage account. If I go to storage accounts list for my newly created user, I do not see anything. Therefore, I need to assign to the user the Reader role.
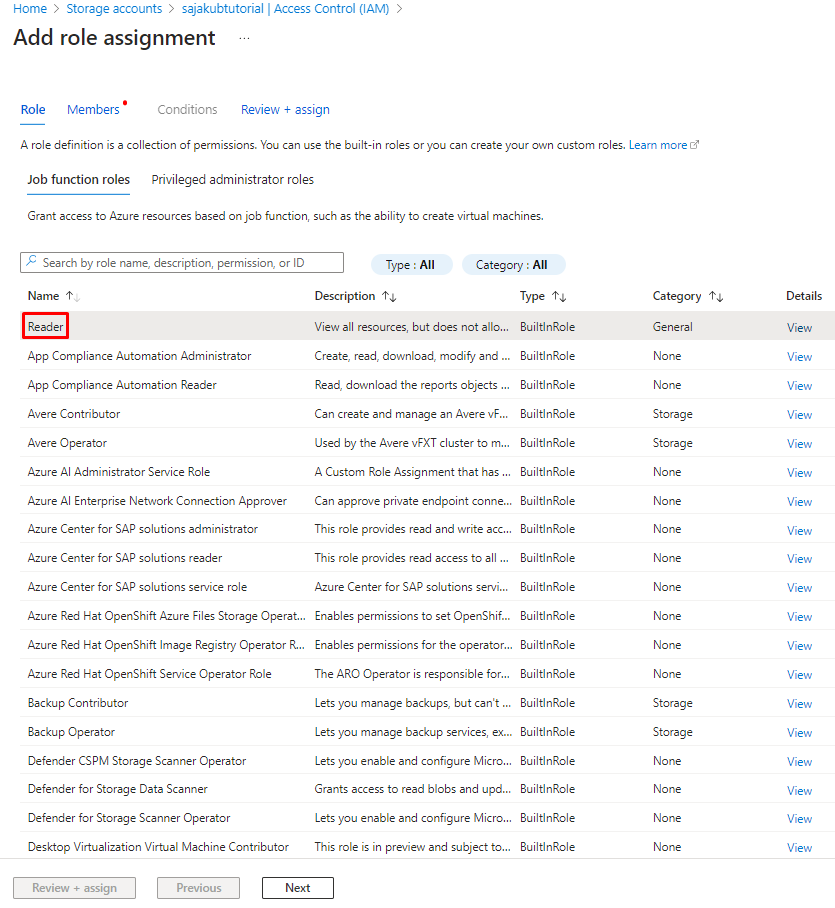
In the left menu go to Access Control(IAM). From there click Add->Add role assignment:

Now you are presented with various roles regarding azure resources. However as I mentioned earlier, we are mainly interested to add reader right now, therefore click on role Reader:
If you chose the role click Next on the bottom of the screen or Members in the upper menu. Now you must search for your created user. Leave the “Asign access to” as default – User, group, or service principal. Then under it click on “Select members” and search for your user:
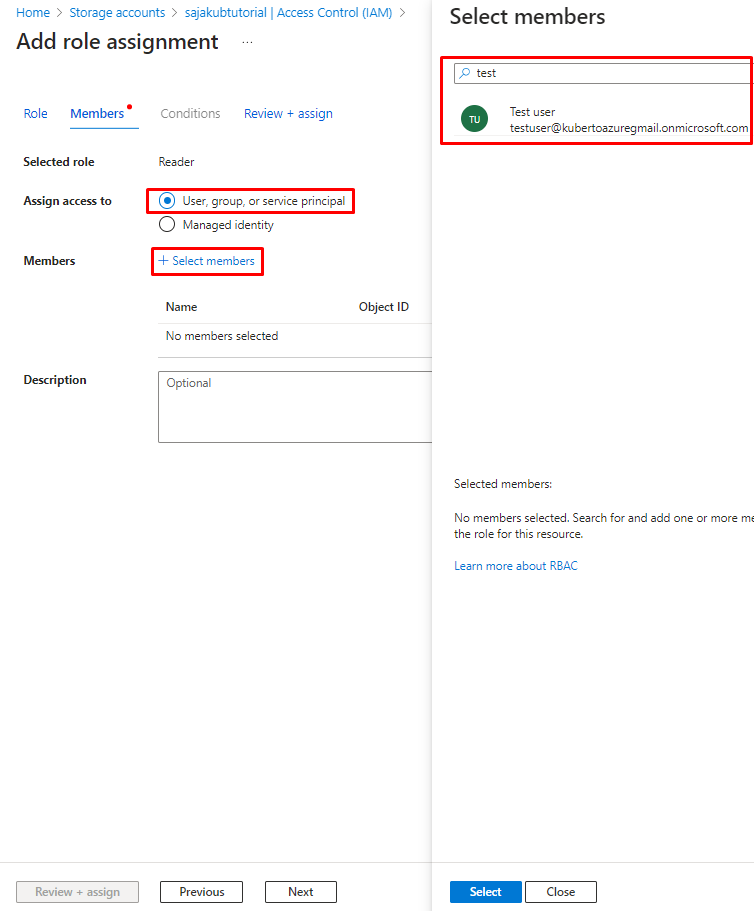
As you may noticed there is also “Conditions” in the upper menu, but it is greyed out. That’s because it is meant for roles that have more privileges, not just the “Reader“. Some of them have a lot of power and you may therefore need certain conditions when you want to apply them. However right now we are only selecting Reader, so it is greyed out.
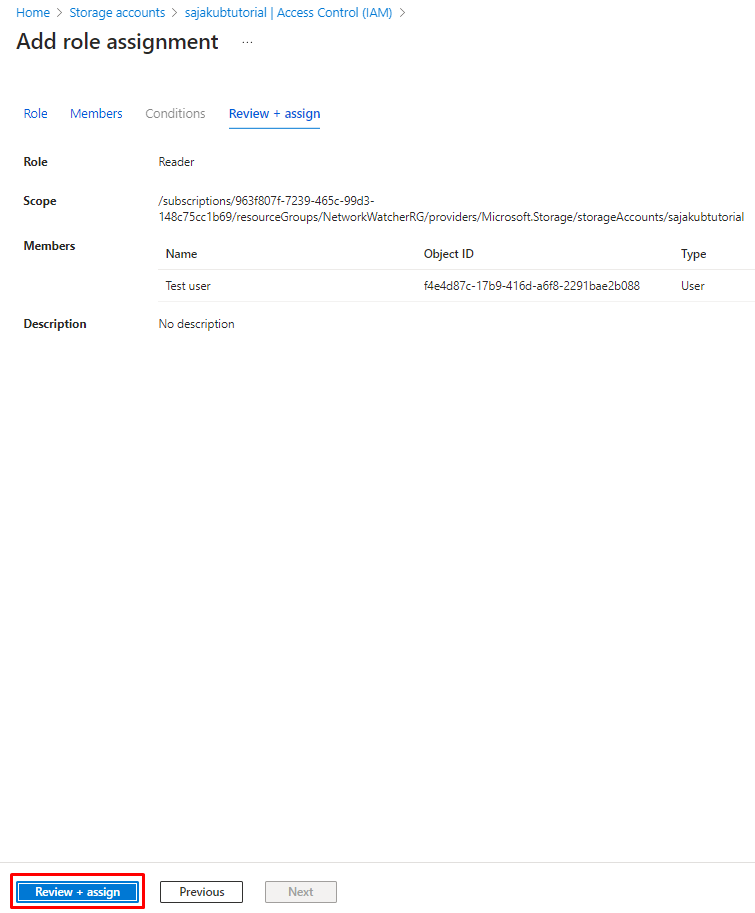
If you selected the member(s) for your role click on “Next” in the lower left menu or again proceed clicking on “Review + assign“. Here you can double check everything and if it is okay click on “Review + assign” in the lower left menu:
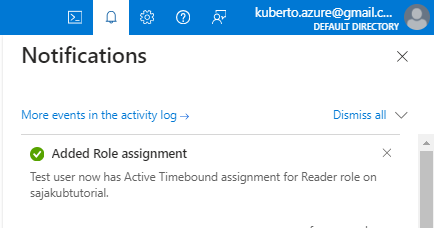
After everything is done, you should see notification about the role:
Now when I log into the account and display the storage accounts, I can see the storage account mentioned earlier. The various resources in storage accounts: Containers, File shares, Queues and Tables inherit permissions from their corresponding storage account by default and because I added “Reader” role I can browse through them and see their settings, configuration, created containers, etc. However, when I want to display contents of particular container I get the following error message:

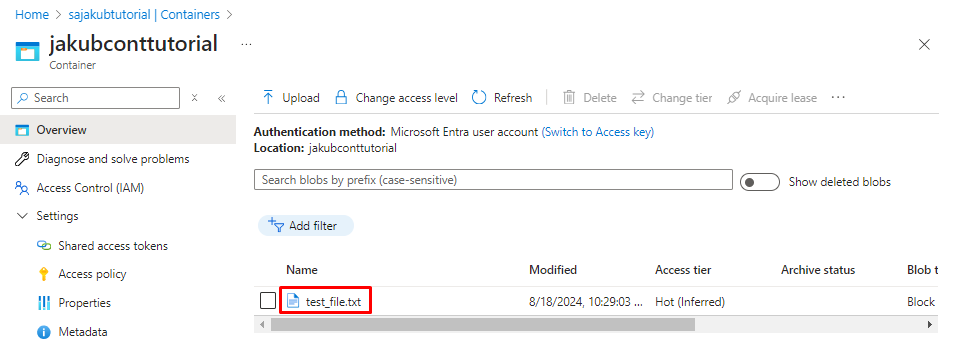
In order to able to read the actual data such as containers, I need to add the role Storage Blob Data Reader as well. This role actually grants the privilege to read the uploaded data. The process of granting this role is exactly the same as with the “Reader” role, show I will not show it again. After I added the role I can see the uploaded files and I am able to download them as well:
Conclusion
In this tutorial, I first showed you different access options with regards to storage account. Role-based access is the most secure way to do it. After that I showed you how to add “Reader ” and “Storage Blob Data Reader” roles to my user so that he can browse through storage account as well as download the uploaded data.
Storage account is popular Azure resource. If you need to safely secure your data or need to way to access it programatically you should definitelly use it.